Author Tim Nguyen@Microkeeper
Category Employee Management
Last Modified 20/05/2026
Prerequisites
- You must have access to Group Configuration.
- The group Access must be set to Contracted Hours.
- Group Name is required.
- If Auto Add is enabled, only one Contracted Hours group can use Auto Add at a time.
Steps
- Open Group Configuration.
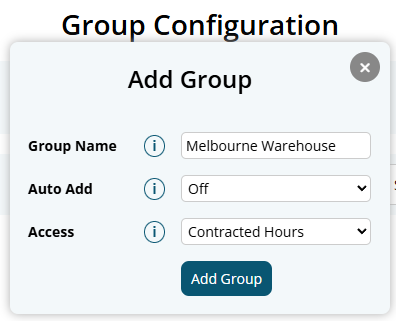
- Select Add Group.
- Enter a Group Name.
- Set Auto Add to Off or Auto Add.
- Set Access to Contracted Hours.
- Select Add Group to save.
- In the Groups list, tick the checkbox for the group you want to work with.
- In Employee Allocation, choose any filters you need.
- Select Display to load employees.
- Allocate employees to the selected Contracted Hours group.
Notes:
- An employee can only belong to one Contracted Hours group at a time.
- If you move an employee to a different Contracted Hours group, they are automatically removed from the previous Contracted Hours group.
Once you have the Contracted Hours Group with staff in it, you can go to the Employee Profile of one of the staff and update the Group Roster Template from here