Employee Console
The employee console is the one stop shop where the employee can access all the information related to them.
Navigate
Menu > Home > Employee console
You can access your Employee Console from any computer or device with internet access by logging on with your username and password.
From your employee console you can access all of your relevant information.
Table of Contents
- Logging In and account management
- Completing your profile/Self Onboarding
- Skills and Files
- Rosters
- How to clock Timesheet Hours
- Timesheets
- Payslips
- Availability
- Message Payroll
- Troubleshooting
Logging In and account management
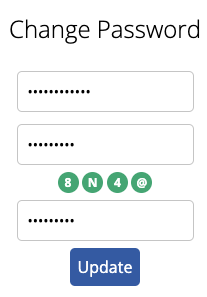
Update password
Your password can be changed through your Employee Console page
- Click the "Change Password" button
- Enter your Current password in the top box
- Enter a new password. Your new password must:
- Be at least 8 or more characters long
- Must contain both an upper and lower case letter
- Must contain a number
- Must contain a special character (! % & @ # $ ^ * ? _ ~ < > . | ( ) + = { })
- Click the "Update" button
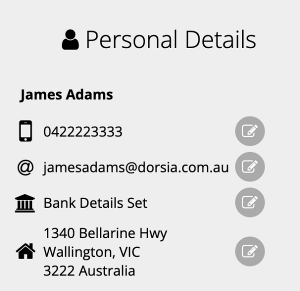
Change Personal Details
Some of your personal details can be changed through the Employee Console page.
Mobile
- Click the edit button
- Enter your new mobile number and tick the "Confirm Mobile Number" box and click the "Save" button
- Enter the 4 digit pin that was sent to your new mobile number and click the "Save" button
- Click the edit button
- Enter your new email and tick the "Confirm Email" box and click the "Save" button
- A verification email will be sent. Open this email and click the link
Bank Account
- Click the edit button
- Enter the details of your new bank account. The Title, BSB and Account number is required.
- Click the "Verify" button
- Confirm your bank details and tick the "I confirm bank details" box and click the "Confirm" button
Personal Address
- Click the edit button
- Search for your address or enter your address details in the appropriate fields.
- Click the "Save" button
How to setup MFA (Multi-factor Authentication)
MFA can be setup for extra security for your Microkeeper account
- Click the "Setup MFA" button
- Download an authenticator app
- Follow the instructions of your selected app to add a service to your authenticator app.
- Use one of the 3 options to connect your Microkeeper account to your select authenticator app
- Enter the 6 digit pin provided by the authenticator app and click the "Save" button
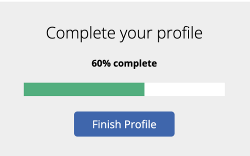
Completing your profile/Self Onboarding
Upon first logging in you will be required to fill in the rest of your profile details.
Click the "Finish Profile" button to get started. Information on each section is detailed below:
Date of Birth
Enter the date of which you were born.
Gender
Select your Gender
Tax File Number Declaration
Complete an Electronic TFN Declaration.
Select your residency for tax purposes. For more information, check out ATO's information on Tax Residency
The options are:
- Australian Resident
- Foreign Resident
- Working Holiday Maker
Tick any additional tax settings that apply to you.
- Claim Tax Free Threshold: The tax-free threshold is the amount of income you can earn each financial year that is not taxed. By claiming the tax-free threshold, you reduce the amount of tax that is withheld from your pay during the year.
- HELP-HECS Loan: Tick if you have a Higher Education Loan Program (HELP) debt
- Trade Support Loan: Tick if you have a Trade Support Loan (TSL) debt
- Student Financial Supplement Scheme: Tick if you have a Student Start-up Loan (SSL) debt
- Seniors and Pensioners Tax Offset: Tick if you are eligible for the Seniors and Pensioners offset (SAPTO)
Australia Citizen Check
Select if you are an Australian Citizen
Vevo check
You may be required to complete a Visa Entitlement Verification Online check (VEVO).
Select if you hold a Passport or an ImmiCard.
If you have a Passport:
- Enter your Passport Number
- Select you Inbound Country
If you have an ImmiCard
- Enter your ImmiCard Number
- Select your Inbound Country
Accept the agreement if you agree to have a VEVO Check Performed
Enter your best contact email address.
- Enter your email and tick the "Confirm Email" box and click the "Save" button
- A verification email will be sent. Open this email in your Email Inbox and click the link.
Mobile Number
Enter your best contact phone number
- Enter your mobile number and tick the "Confirm Mobile Number" box and click the "Save" button
- Enter the 4 digit pin that was sent to your new mobile number and click the "Save" button
Emergency Contact
Provide the best contact in case of emergency.
Address
- Search for your address or enter your address details in the appropriate fields.
- Click the "Save" button
Tax File Number
Provide your Tax File Number (TFN).
How to find your TFN.
If you don't have a TFN.
Bank Details
Provide your Bank Details. This will be used for payroll purposes.
- Bank Title: The title of your bank account
- Bank BSB: The BSB number of the branch of bank you are with
- Bank Account Number: The bank account number
Superannuation Setup
Super is money for your retirement. Australia has a compulsory super system, which means the money for your retirement comes mostly from compulsory super contributions that your employer pays into your super fund. This is above your standard pay.
If you have a Stapled Superfund, you can use the Superannuation Setup to connect the super to your new employment.
- Click the "Start Super Setup" button.
- Click the "Select" button under Choose Other.
- Click the "Next" button.
- Search for your Stapled Superfund by Name, SPIN, USI or ABN. Click the "Save" button.
- Enter your Super Member Number. Your member number is supplied by your super fund. Click the "Save" button.
If you do not have a Superfund, skip this step and contact your employer directly for more information.
Availability
You can provide your preferred availability for each day. Confirming availability helps your employer create work schedules that accommodate your preferences.
Skills and Files
Skills and Files helps you get the documentation required for employment.
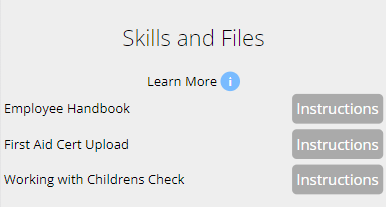
There may be a list of Skills to complete. Each skill will have different requirements, read the instructions carefully.
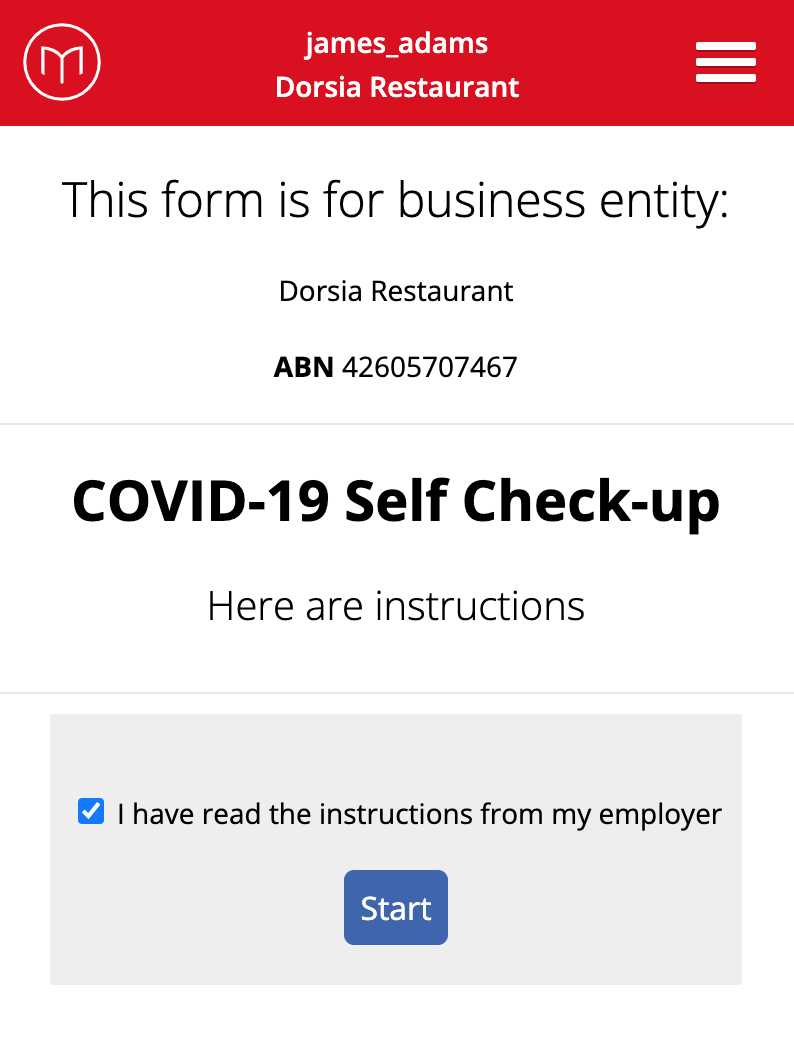
Your employers instructions may require you to complete specific tasks. Some of the tasks may require:
Resource Files
Your employer has provided you with resource files that will help you in completing the Skill.
You can click the "Eye" icon to view the resource on your device.
Click the "Save" button to save the file to your device.

Skill Check
Your employer wants to check if you have this Skill.
Under "Do you have this Skill?" or "Do you agree to this Skill?"
Select either Yes or No.

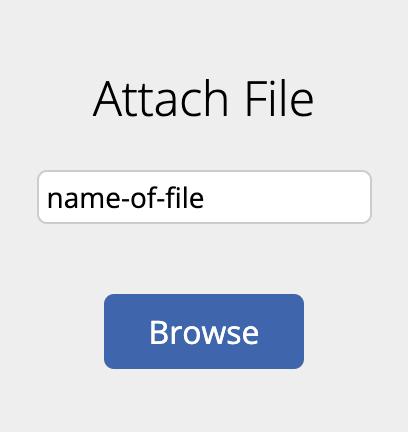
Upload Required Documents
Your employer requires you to upload documents to this Skill.
Under "Upload File", name your file and then click the blue "Browse" button and select a file from your device to upload.

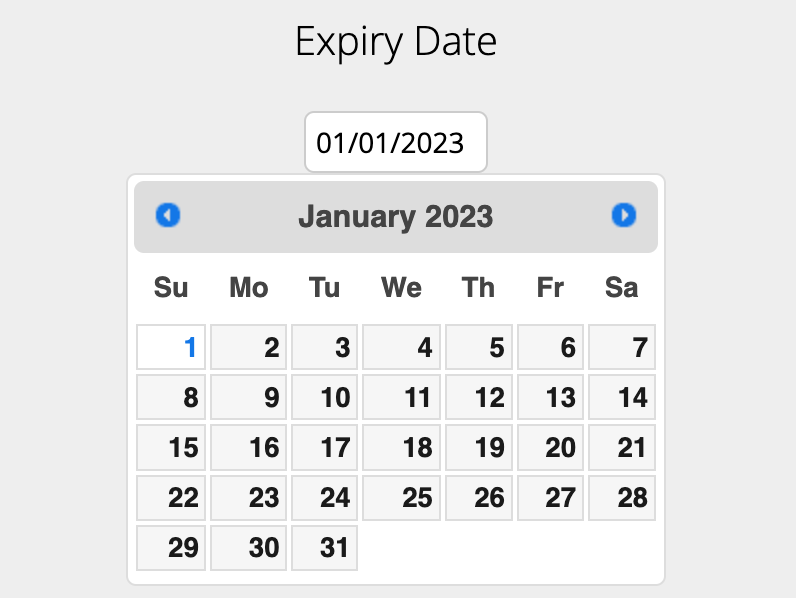
Expiry Date
Your employer requires you to enter an Expiry Date related to the Skill.
Under "Expiry Date", click the input box to select a date or type one in the format of DD/MM/YYYY
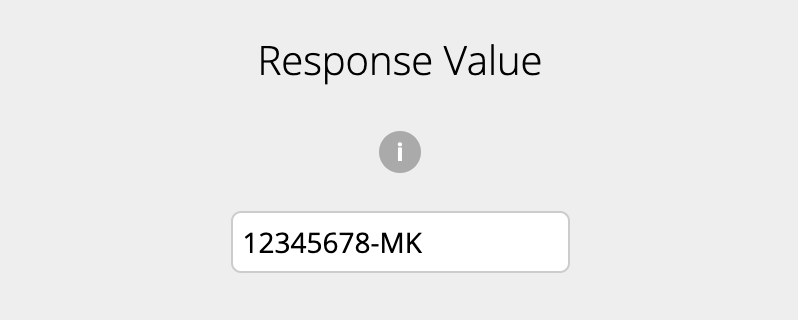
Response Value
Your employee requires you to enter a text value related to the Skill.
Under "Response Value", enter text into the text box below.
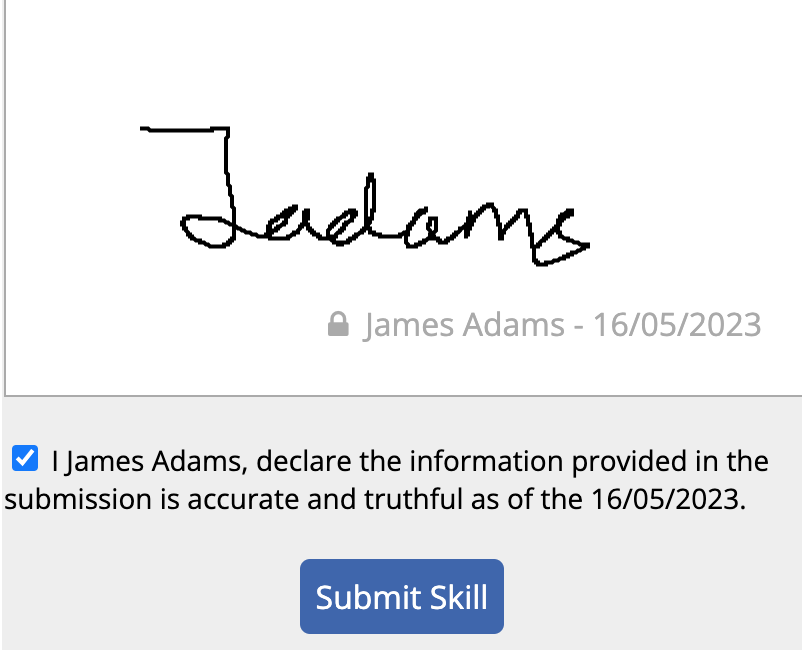
Signing and submitting the Skill
After you have completed all the necessary tasks, you can sign and submit the document.
Click the blue "Sign Document" button.
Draw a signature into the box and click the blue "Save" button to confirm your signature. You can click the grey "clear" button to redo your signature.
Once you have signed your skill, tick the declaration box and click the blue "Submit Skill" box.
Rosters
Your rostered shifts can be found on your Employee Console.
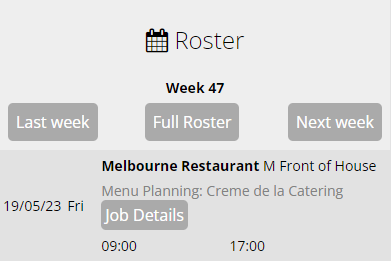
How to read your Roster
Your roster can be found on your Employee Console under Roster.
The Roster area will display your rostered shifts in a list format organized by Date and Time.
A rostered shift can contain the following details of your shift:
- The Date of your shift
- The Day of your shift
- The Location, and Role if available
- The Job and associated Client if available.
- Click the "Job Details" button to expand more information on the Job
- Start and End time
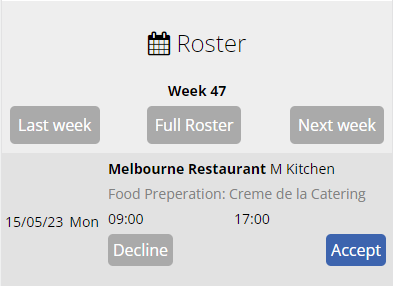
How to confirm your shifts
Your rostered shifts can be confirmed or declined to communicate to management you agree to work your shift
Click the "Accept" or "Decline" button on the specific shift.
How to Bid on a shift
Shifts that are available for bidding will be displayed under Shift Bidding on your Employee Console.
Click the blue "Bid' button to submit a bid for the shift. Management will be notified of your request.
Click the grey "Hide" button to hide the shift from your Shift Bidding view.

How to clock Timesheet Hours
NFC
Your employer will issue you a Microkeeper NFC tag. This will allow you to record your timesheet entries by tapping the tag against the NFC reader.
Clocking on shifts:
- Take your NFC tag and hold it against the NFC Scanner
- Wait for the confirmation message of "{Employee} has clocked on"
Clocking off shifts:
- Take your NFC tag and hold it against the NFC Scanner
- Wait for the confirmation message of "{Employee} has clocked off"
Fingerprint
Your employer will register your fingerprint so you can use your registered finder to start recording your timesheet entries.
Clocking on shifts:
- Place the entire pad of your finger - not just the tip or side of your finger - on the center of the oval window the Fingerprint Scanner
- Apply steady, even pressure on the oval window. Do not roll or swipe your finger. This ensures that the scanner can capture a clear image of your fingerprint.
- Hold your finger on the oval window until you see the light under the window blink. This indicates that the fingerprint scanner has successfully scanned your fingerprint.
Facial
Your employer will register your face so you easily clock in and out for your shifts
Clocking on shifts:
- Position yourself in front of the camera and allow the IPad to recognise your face
- (Optional) Click the Clock On button to start your timesheet entry
- If the facial recognition has recognised your name wrong, simply click the Not Me button.
Clocking off shifts
- Position yourself in front of the camera and allow the IPad to recognise your face
- (Optional) Click the Clock Out button to end your timesheet entry
Clock On
You can record your shift through your Employee Console. Under the "Clock" area:
To Clock on a shift:
- Click the green "Clock On" button
- Wait for the confirmation message "You been clocked on"
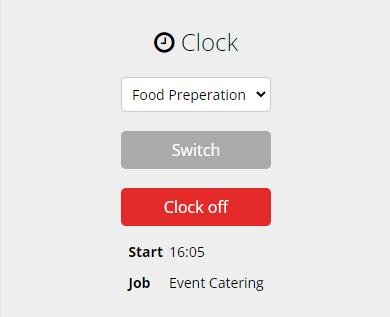
To Clock off a shift
- Click the red "Clock off" button
- Wait for the confirmation message "You have been clocked out"
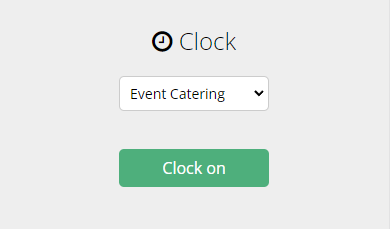
To Clock on a shift with a job:
- Click the "Select Job" drop down button
- Select the Job to clock your shift under
- Click the green "Clock On" button
- Wait for the confirmation message "You been clocked on"
To switch a Job mid shift
- Click the "Select Job" drop down button
- Select the Job to clock your shift under
- Click the grey "Switch" button
- Wait for the confirmation message "You have switched Jobs"
To Clock off a shift
- Click the red "Clock off" button
- Wait for the confirmation message "You have been clocked out"
Self Managed
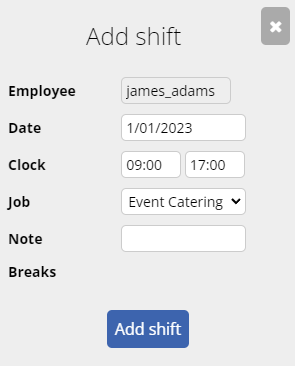
To create a new timesheet entry
- Navigate to Menu (top right corner) > Rosters > Timesheets
- Click "Add Shift"
- Fill in the details:
- Date: The date of the timesheet entry
- Clock: The start and end time of the timesheet entry
- (Optional) Job: The Job allocated to the shift if applicable
- Note: Any notes for management
- (Optional) Breaks: Select any breaks or Skip any breaks.
- Click Add Shift
To record a weekly bulk entry of timesheets:
- Navigate to Menu (top right corner) > Rosters > Timesheets
- Click "Add Weekly Shifts"
- Fill in the details for the appropriate dates:
- Start and End: The start and end time of the timesheet entry
- (Optional) Job: The Job allocated to the shift if applicable
- Note: Any notes for management
- (Optional) Breaks: Select any breaks or Skip any breaks.
- Click Add Shift
To create a shift off your rostered shift
- Navigate to Menu (top right corner) > Rosters > Timesheets
- Click the "Create" button for the appropriate roster shift
- Confirm the details:
- Date: The date of the timesheet entry
- Clock: The start and end time of the timesheet entry
- (Optional) Job: The Job allocated to the shift if applicable
- Note: Any notes for management
- (Optional) Breaks: Select any breaks or Skip any breaks.
- Click Add Shift
Timesheets
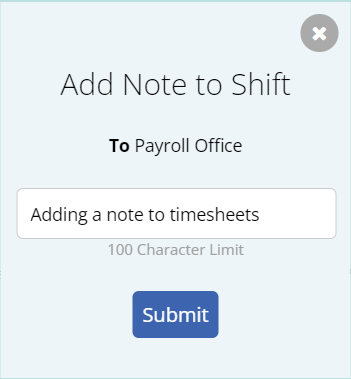
Timesheet entries can be viewed under the Timesheet display. You can also add notes to your timesheet entries for management to view. Click the Note button next to a timesheet entry to attach a note.

An entered timesheet note will be attached to your timesheet entry and notification sent to your Timesheet Manager
Payslips
Your payslips can be accessed through your Employee Console under Payslips.
If you can't find one of your payslips, please contact your Employer.
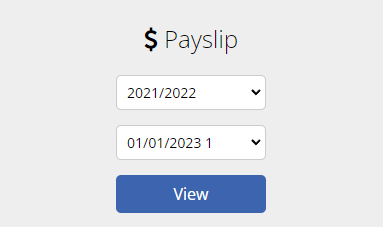
How to view your payslips
Under Payslips, select the Fiscal Year and Fiscal Week of the payslip you wish to display and then click the blue "View" button.
How to download your Payslips
To download your payslips, open up the payslip you wish to download and click the blue "Download" button
Availability
Your preferred availability can be changed on your Employee Console, under Personal Details.
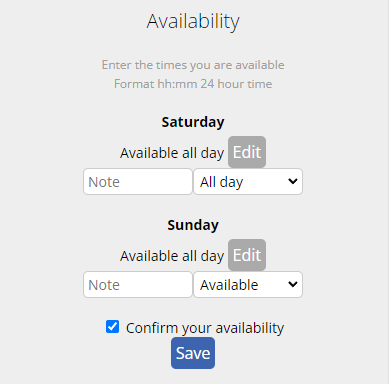
How to adjust your availability
Under Personal Details, click the "editIcon" button to adjust your availability preferences.
You can click the "Edit" button to enter a Start and End time of availability.
Alternatively you can use the dropdown menu to select from multiple preset availability settings.
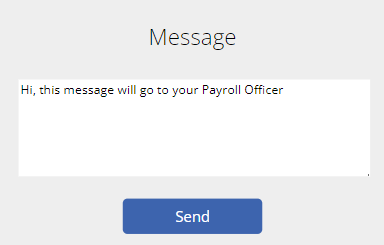
Message Payroll
Changed bank details or an error in your payslip?
Send a message directly to your payroll officer.