Messaging Guide
Messaging lets staff send direct messages, create group channels, share files and images, and keep work conversations in one place.
Navigating to Messaging
Menu > Home > Employee Console > Messages
Conversation List
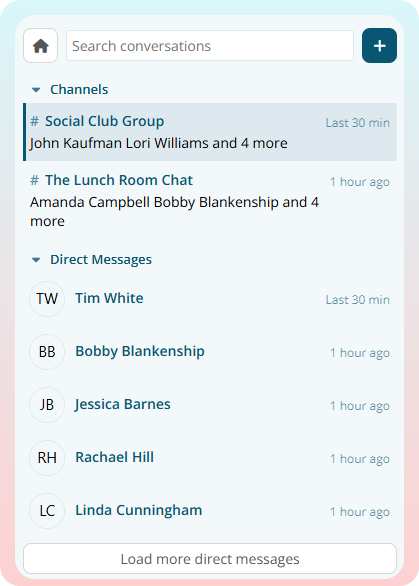
The conversation list panel is split into Channels and Direct Messages. Channels include manual group conversations and synced group channels. Direct Messages are one-to-one conversations.
- Use Search Conversations to find a conversation by title or participant.
- Use Load more channels or Load more direct messages when more results are available.
- Unread conversations will show an indicator.
Start a New Message
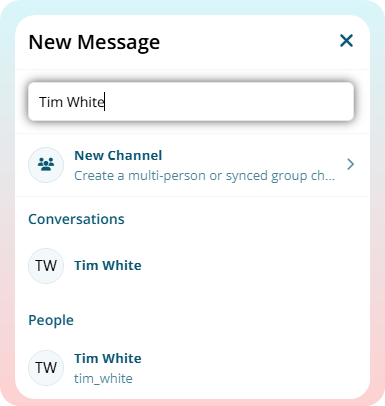
Click the plus button in the conversation list to open a New Message. From here you can search people, open existing conversations, start a direct message, or create a group channel.
Direct Messages
- Click the plus button to open the New Message window
- Search for a person by name, employee ID, or username or scroll the People list
- Click the person you want to message.
You will only be able to message staff who share the same Location assignment as you.
As a manager, you will also be able to message any staff that you manage.
Manual Group channels
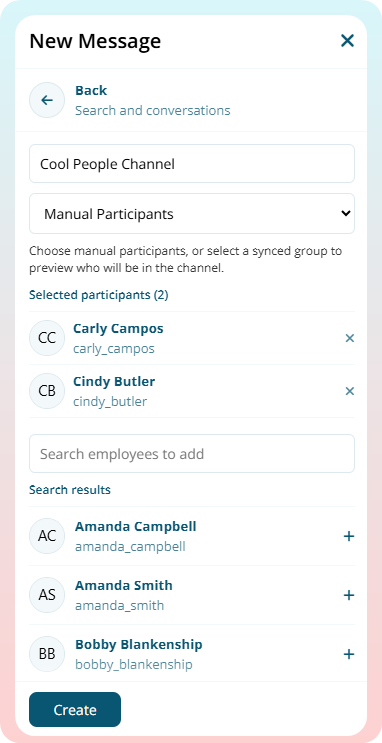
- Click the plus button to open the New Message window
- Click New Channel
- (Optional) Enter a Channel Title
- Leave the group selector on Manual Participants
- Select at least two other staff members
- Click Create
Synced Group Channels
- Click the plus button to open the New Message window
- Click New Channel
- (Optional) Enter a Channel Title
- Select a Group from the list
- Review the group member preview
- Click Create

A synced group channel follows the linked Group for conversation participants. As staff are added or removed from the linked Group, the conversation will update the participants accordingly.
You must be either a member or manager of the selected group to create its synced channel.
Sending Messages
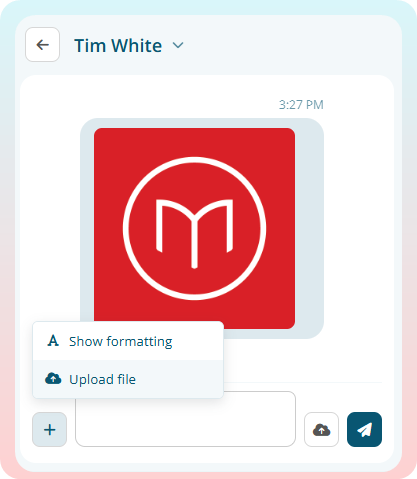
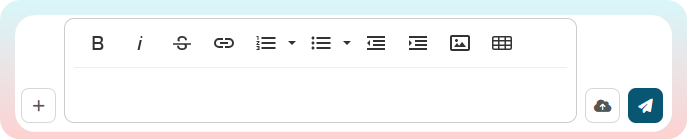
Select a conversation, type in the message box, then click the paper-plane button to send your message. You have a variety of options to help you communicate to your team members in the message field
Upload Images and Files
Click the plus button in the message field area and choose Upload File to attach a file to the current conversation.
- Click the plus button in the message field area
- Click Upload File
- Keep or edit the file name
- Click Browse and choose a file
- For images, choose a resize option or select original
- Wait for the upload to finish
You can also directly paste images into the message field to share images to the conversation.
Uploaded files must be 20MB or smaller.
Formatting Messages
The format bar offers a variety of options to something you message including:
- Bold, italics or strikethrough text
- Add lists
- Add tables
Reply and React
Reply to a Message
Use reply to keep a response connected to a specific message. Hover over a message to show the message toolbar. Click the reply button to quote that message in your reply
The selected message appears above the editor with the sender and a short preview.
Click the X button on the quote preview to cancel the reply before sending
Reacting to a Message
You can react to messages with emojis. Hover or Tap a message to show the message toolbar.
Use the quick reactions, or click the more reaction button to choose from a wider range of emoji reactions.
Reactions will appear underneath the message bubble with the emoji and number of people who also reacted. Click the reaction to remove your reaction or add a react.
Conversation Settings
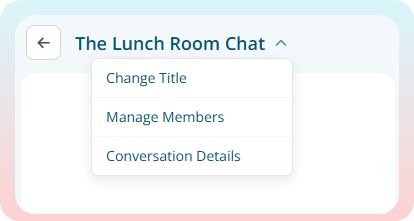
Click the conversation title in the messenger header to open conversation settings. The options shown depend on the conversation type and your access to it.
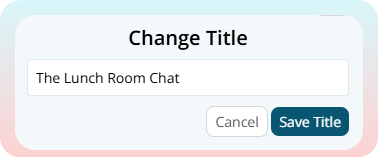
Change the Conversation Title
The conversation owner can choose Change Title, enter a new title and click Save Title.
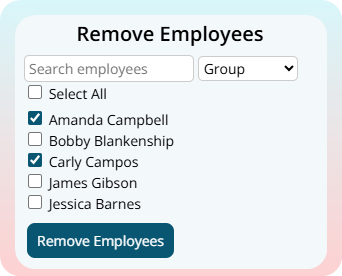
Manage Conversation Members
Manual channels can use Manage Members to add or remove staff from the conversation.
- Click the Conversation Title
- Select either Add Employees or Remove Employees
- Use the search field or group filter, select employees
- Click Add Employees or Remove Employees to confirm the change.
Direct Messages does not support manual participant changes.
Synced Group Channels follow the linked Group, so member changes must be made through the Group configuration.