Skills and Documents
The Skills feature in Microkeeper allows you to manage groups of employees qualifications, certifications, and other important documents. This guide will help you understand how to configure and manage Skills effectively.
Navigate
Menu > Settings > Skill Config
What are Skills used for?
Skills in Microkeeper are used to:
- Track employee qualifications and certifications
- Ensure compliance with industry standards and regulations
- Manage important documents like employee handbooks or policy agreements
Skills are categorised into different types:
- Policies
- Certificates
- Inductions
- Off Boarding
- Contracts
Prerequisite - Turning the Skills Matrix on
The Skills Matrix module must first be enabled in the Global Settings.
Navigate to Menu > Settings > General > Global > System Settings - Skills Matrix
Select Skills Matrix to enable the feature.

Creating a New Skill
To add a new Skill:
- Click the New Document button
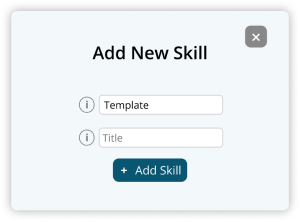
- In the "Add New Skill" configuration window:
- Select a Template from the dropdown (if applicable)
- Enter a title for the skill
- Click the Add Skill button to create the new Skill.
Configuring the Skill
After creating a new Skill or selecting an existing one to edit, a Skill Configuration page will appear.
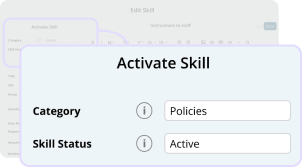
1. Activate Skill
- Category: Choose the appropriate category for the Skill (e.g., Policies, Certificates)
- Skill Status: Set as Draft, Active or Archive
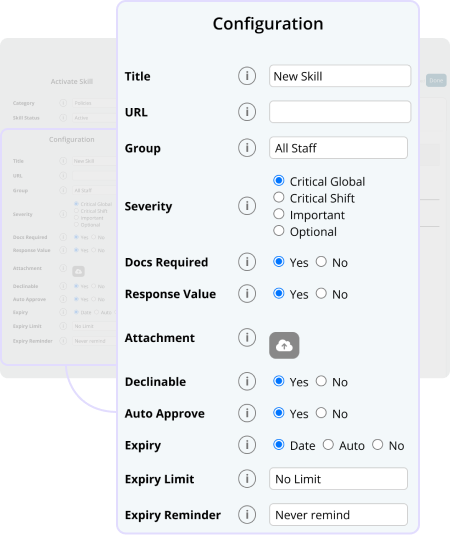
2. Configuration
- Title: The Name of the Skill.
- URL: A weblink to a third-party resource that can be used to complete the skill.
- Group: The group of your staff that are required to complete this skill.
- Severity: How important is the collection of this skill.
- Critical Global: Employees cannot clock on until they complete this skill.
- Critical Shift: Employees cannot clock on to the role/location the skills are associated with until they complete this skill.
- Important: Encouragement of skill completion will be prominent in Microkeeper.
- Optional: Skills that are useful to have, but not required for employment.
- Docs Required: Specify if document upload is required.
- Attachment: Upload any necessary files for the Skill. (e.g., a Form to be completed)
- Response Value: Determine if a text response is needed for the skill completion.
- Declinable: Set whether employees can decline the Skill.
- Auto Approve: Does the skill completion need manager approval or enable automatic approval upon employee submission.
- Expiry: Set if the skill expires.
- Date: Employee enters expiry date.
- Auto: Skill expires based on the Expiry Limit.
- No: Skill never expires.
- Expiry Limit: If applicable, set how often the Skill needs to be renewed
- Expiry Reminder: Set how far in advance to remind employees of expiring Skills
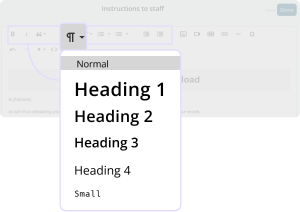
3. Instructions to Staff
Use the rich text editor to provide detailed instructions for completing the Skill
1. Formatting Options:
- Bold, Italic and Quote styles for emphasis
- Paragraph formatting (Normal, Headings 1-4,)
- Text alignment options
- Numbered and bulleted lists
- Indentation options
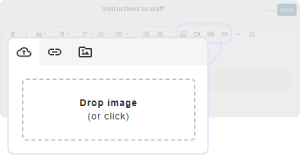
2. Inserting Media
- Images: Click the image icon to upload or insert images that help explain the process.
- Videos: Use the video icon to embed instructional videos.
- Tables: Insert tables to organize information clearly.
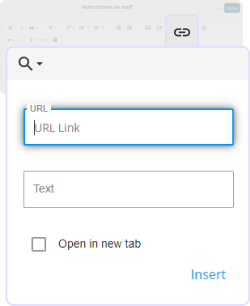
3. Adding Links:
Use the link tool to add hyperlinks to external resources or internal Microkeeper pages
4. Special Characters:
If needed, insert special characters using the dedicated tool
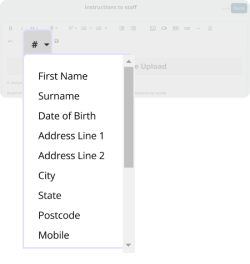
5. Employee Profile Variables:
Use the hashtag (#) button to insert dynamic employee information. Available variables include:
- {firstname}: Employee's first name
- {lastname}: Employee's last name
- {dob2}: Date of birth
- {address}: Address Line 1
- {address2}: Address Line 2
- {city}: City
- {state}: State
- {postcode}: Postcode
- {phoneno}: Mobile number
- {email}: Email address
- {position}: Job position
- {startdate2}: Start date
- {primary_manager}: Manager's name
- {rate}: Default pay rate
- {custom_*}: Custom employee profile fields (if applicable)
4. Save your Work
When you have completed drafting the instructions, save your work by clicking the Save button above the Instructions to Staff.
Managing Skills
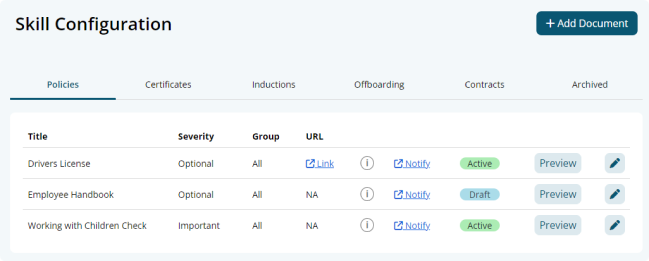
The Skills configuration page provides an overview of all the Skills which are filtered and organised by their category. For each Skill in the list:
- View the Status, Title, Severity, Group and URL
- Use the info dot icon to view the configuration settings of the Skill
- Click the Notify button to send reminders to employees to complete the Skill.
- Use the Preview button to see how the Skill appears to employees.
- Edit a Skill by clicking the Edit button
Employee Skill Completion Process
Navigate to Menu > Home > Employee Console
Once a skill is made active, employees will be able to complete your instructions and submit required documents for approval from their Employee Console under Skills and Files.

The configuration of the skill will affect the tasks the employee will need to complete to finalize the skill.
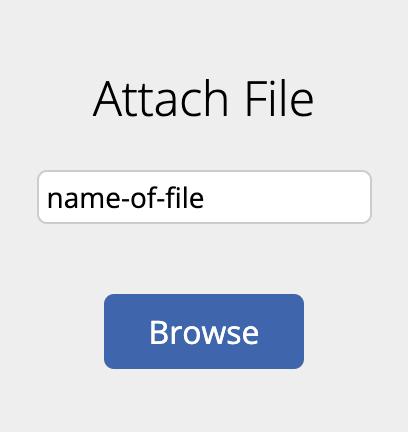
Upload Required Documents
Your employer requires you to upload documents to this Skill.
Under "Upload File", name your file and then click the blue "Browse" button and select a file from your device to upload.

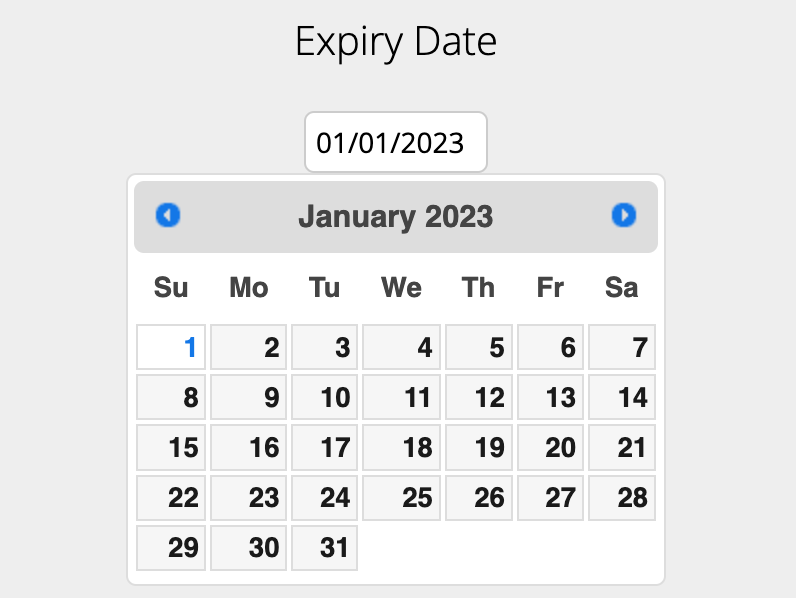
Expiry Date
Your employer requires you to enter an Expiry Date related to the Skill.
Under "Expiry Date", click the input box to select a date or type one in the format of DD/MM/YYYY
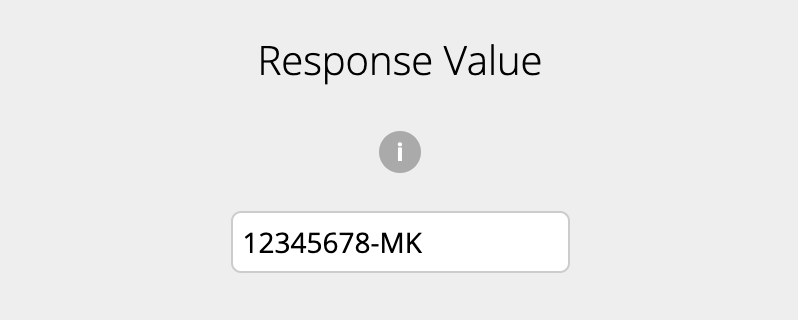
Response Value
Your employee requires you to enter a text value related to the Skill.
Under "Response Value", enter text into the text box below.
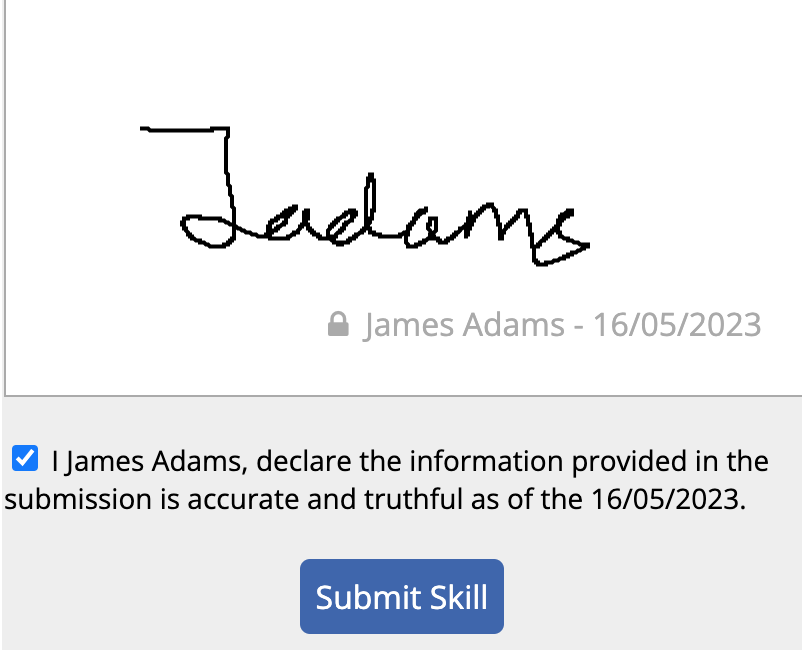
Signing and submitting the Skill
After you have completed all the necessary tasks, you can sign and submit the document.
Click the blue "Sign Document" button.
Draw a signature into the box and click the blue "Save" button to confirm your signature. You can click the grey "clear" button to redo your signature.
Once you have signed your skill, tick the declaration box and click the blue "Submit Skill" box.
Manage Submitted Files
Navigate to Menu > Settings > File Manager
The File Manager allows for searching, deleting and monitoring of all the files that are within the business Microkeeper account.
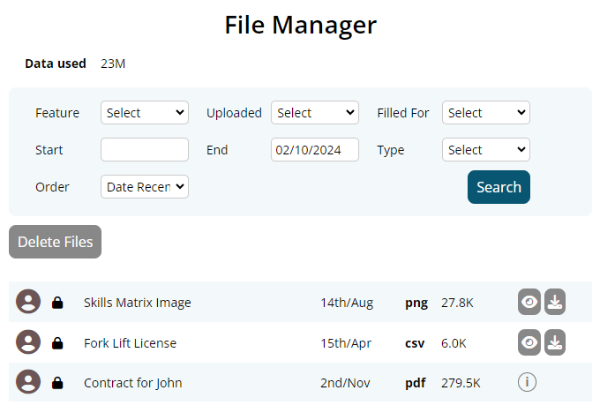
How to Delete a File
To delete a file click Delete Files button on the left of the screen, then click the trash can icon that appears next to the file you want to remove.