Clocking Options
Staff clock on when they start work and off when they finish, and those times become their timesheet. Each employee's Employee Clocking setting decides how they can clock: from their phone anywhere, only at work, only at a scanner, or not at all.
| Required plan | Standard Enterprise. Facial recognition needs Enterprise. |
|---|---|
| Required access | To set Employee Clocking: access to edit the employee, with HR, Payroll or Settings access |
Ways staff can clock on and off
Choose a way below to see how it works for your staff and how to set it up.
How they compare:
| Way to clock | Stops staff clocking each other on | Best for |
|---|---|---|
| Employee Console or the Microkeeper app, on any device | No | Small teams who work together |
| With GPS, anywhere or only at your Locations | No, but you see where they were | Staff who start at different sites, such as trades and drivers |
| Only on your work network | No | Staff who work at the business's computers |
| Quick Clock, a shared page with each person's password | No | A shared tablet or PC at the door |
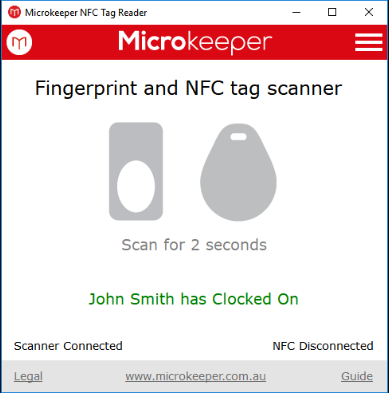
| Fingerprint scanner | Yes | Large teams where speed and security matter |
| NFC tag at a reader | No | Large teams where speed matters |
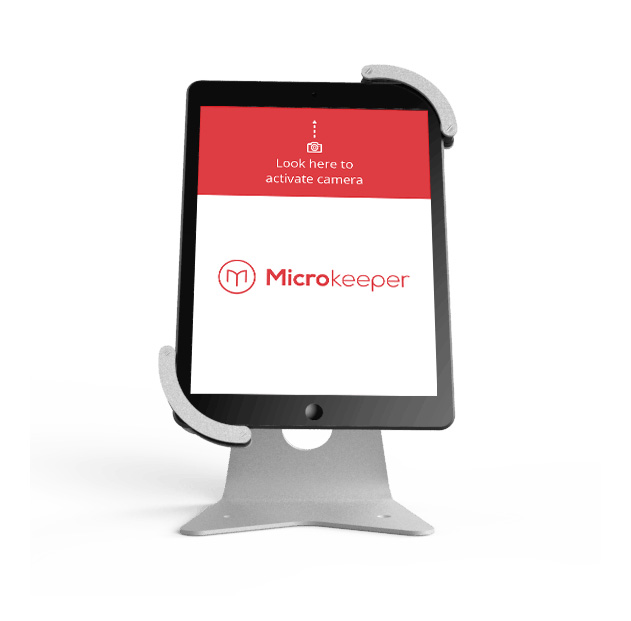
| Facial recognition iPad | Yes, and keeps working offline | Large or touch-free sites. Enterprise only |
Choose how each employee clocks
Navigate to Menu > Settings > Employees, click Edit next to the employee, and choose their level under Employee Clocking. It saves as soon as you choose it. Each level also allows the ways listed above it, so Any internet device includes GPS, your network and scanners.
| Employee Clocking | How they can clock |
|---|---|
| Disabled | They can't clock. Use it for staff paid from the roster or a salary. |
| NFC / Fingerprint | Only at a fingerprint scanner or NFC reader. Tick Facial Recognition under it for the facial recognition iPad. |
| PC restricted | From the Employee Console, but only on your work network. |
| GPS location restricted | From a phone, only when it's within range of one of your Locations. Their position is saved on the timesheet. |
| GPS any location | From a phone anywhere, with their position saved on the timesheet. |
| Any internet device | From the Employee Console or the Microkeeper app, anywhere. |
| Self managed | Like Any internet device, and they can also add their own shifts to the timesheet. Turn on timesheet approval so a manager checks them. |
Info
Staff you add with Add Employee start on NFC / Fingerprint, so they have no Clock on button on the Employee Console. Change it for each new employee, or choose an employee to copy under Copy Settings and Groups from: when you add them. A change takes effect the next time the employee logs in.
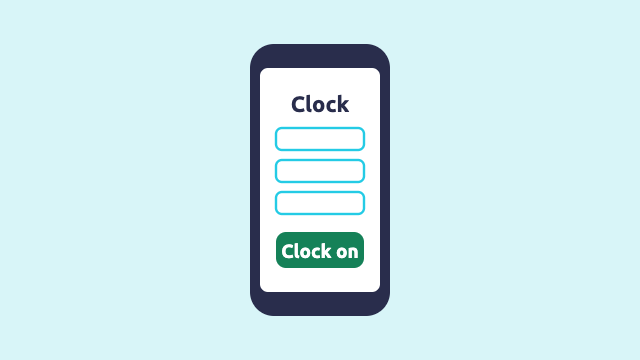
Clock on from the Employee Console or app
- The employee opens the Employee Console, or the Microkeeper app, and finds Clock.
- They check the Location, Role and Job. Each starts on their rostered shift's, marked "(Default)", and they can pick another.
- They click Clock on.
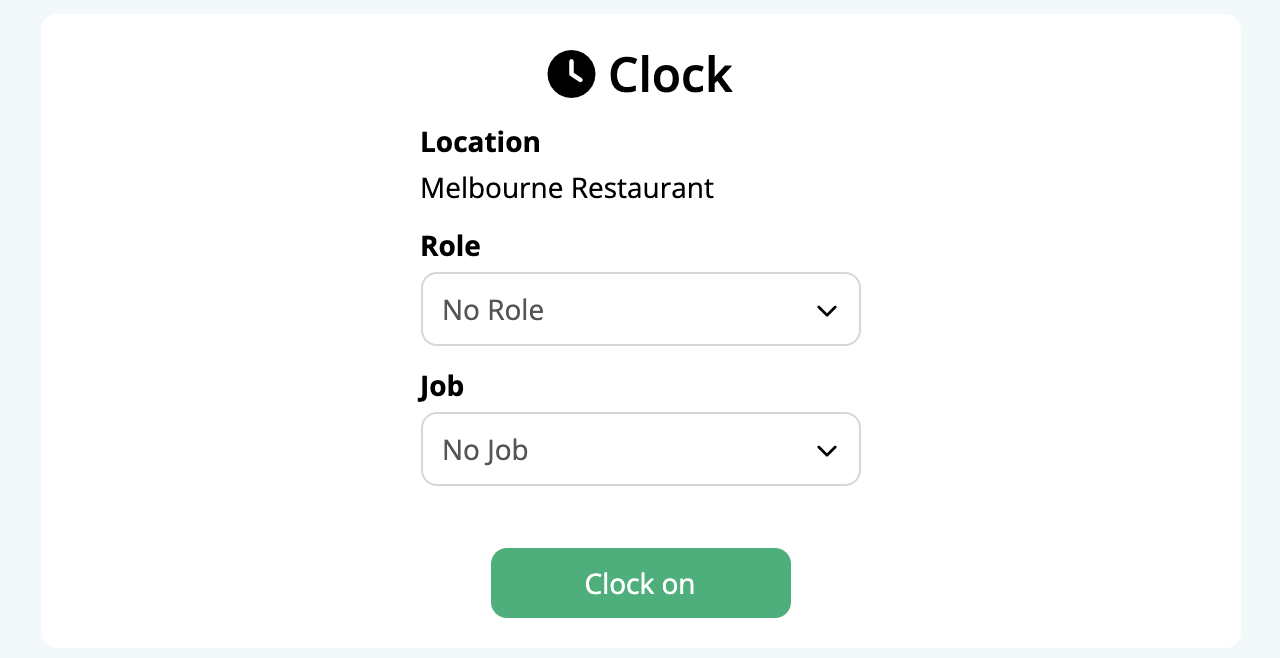
To move to other work partway through a shift, such as from the bar to a private function, they choose the new Location, Role or Job and click Switch. That ends one shift and starts the next. At the end of the day they click Clock off. If your break rules let staff choose breaks when clocking, a Break list appears while they're clocked on.
Staff only see the Locations whose staff Group includes them, the Roles linked to the chosen Location, and the Jobs they can clock onto. If they change the Location, they need to choose the Role again.
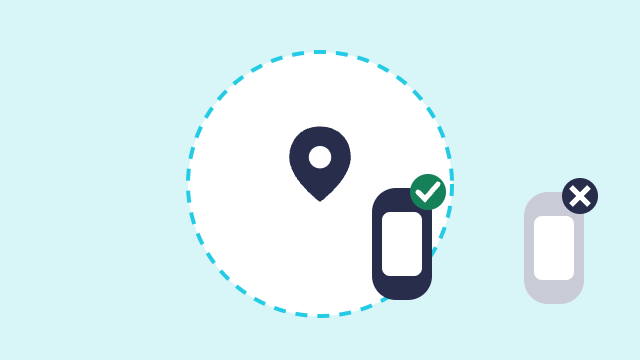
Only allow clocking at your Locations with GPS
- Set each Location's position on its Geo-Fence tab. See Locations.
- Set how close staff must be: navigate to Menu > Settings > General > Global, click Timesheet Settings, and set GPS Radius. Start at 70 metres and increase it by 50 if staff at work are refused. It can be 40 to 1000 metres.
- Set those staff to GPS location restricted.
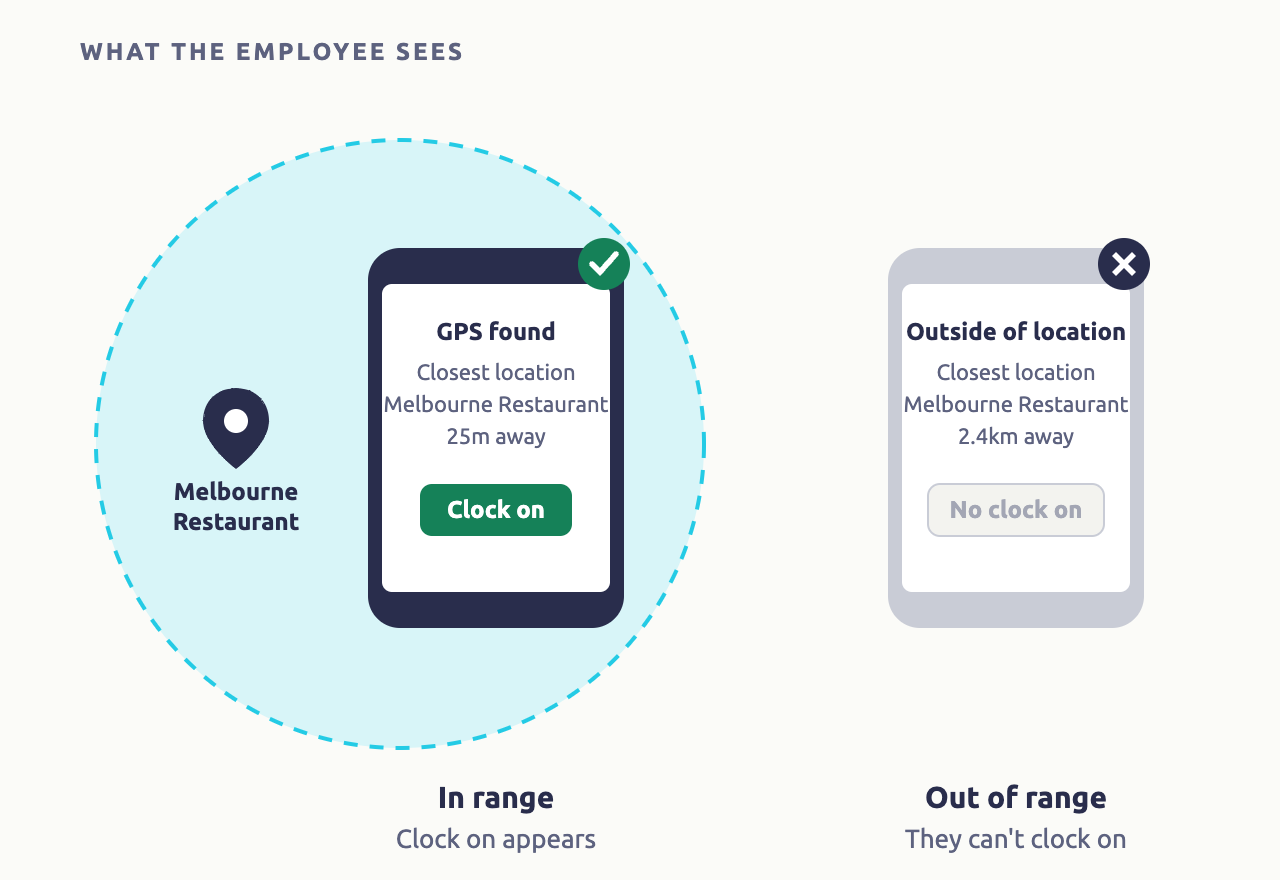
The Clock on button appears once their phone finds their position, accurate to within 500 metres. On the timesheet, click the pin beside a shift to see where they clocked.
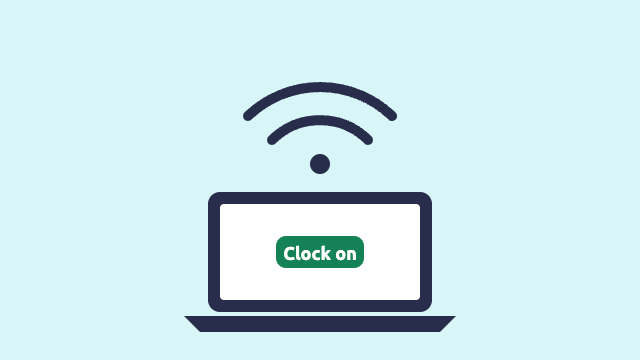
Only allow clocking on your work network
- On a computer at work, navigate to Menu > Settings > General > Security.
- Under Add IP address or Domain, the current network is already filled in. Add a Description, such as "Melbourne office", and click Add IP/Domain.
- Set those staff to PC restricted.
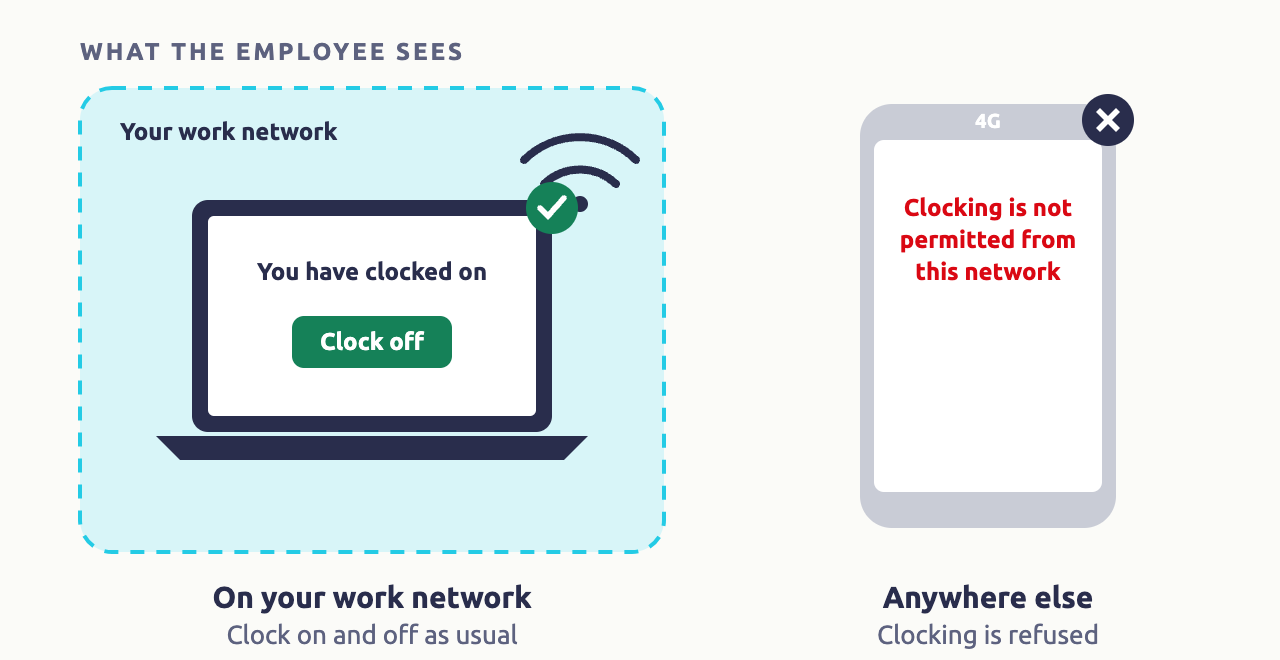
If your internet provider changes your address from time to time, add a domain that always points to your network instead. To also limit fingerprint, NFC and Quick Clock clocking to these networks, set Restrict Clocking By IP Address to IP Restricted (Recommended) in Timesheet Settings.
Set up a shared Quick Clock page
Quick Clock is a page for a shared tablet or PC at work. Open microkeeper.com.au/quick_clock.php on it. Each employee types their username and password and presses Login, which clocks them on, or off if they're already on. Usernames used in the last 30 days appear as buttons to tap.
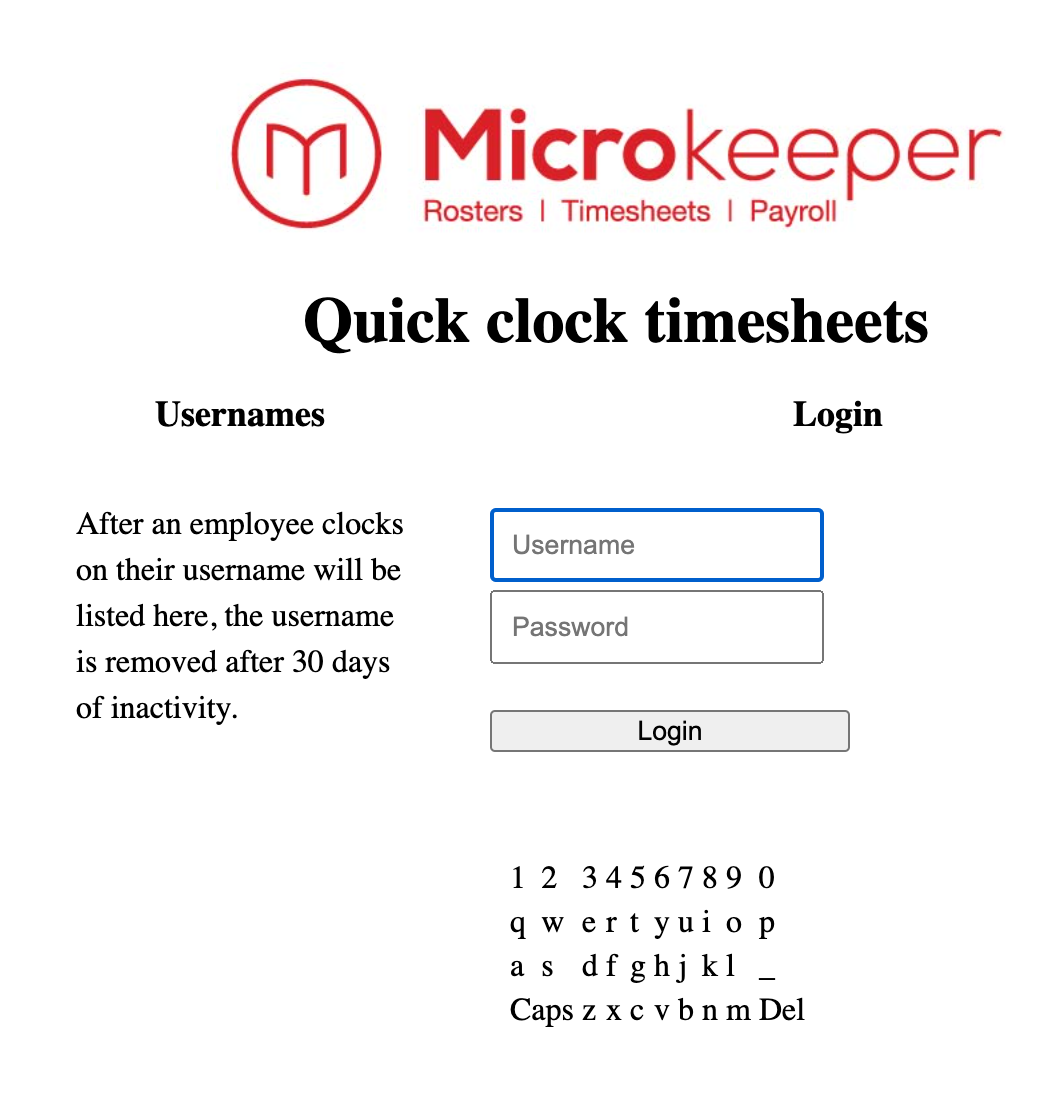
To charge every clock-on at that device to one Job, add the Job's ID to the address, such as quick_clock.php?JID=1234. To find the ID, hover over the number in the Job's ID column on the Jobs page.
Clock on with a fingerprint or NFC tag
Staff touch a fingerprint scanner, or hold their NFC tag to a reader, at a Windows PC running the Microkeeper Timesheets app. The app shows their name as they clock on or off. Set them to NFC / Fingerprint or higher. To set up the app and enrol each person, see Fingerprint and NFC.
Clock on with facial recognition
Staff look at an iPad mounted at work, which recognises them and clocks them on or off. Nobody can clock on for someone else, and clock-ons are kept on the iPad if the internet drops. It needs the Enterprise plan. To set up the iPad and register each face, see Facial Recognition.
Where a clocked shift gets its Location, Role and Job
Every shift records a Location, Role and Job, so you can see what each one costs. See Cost Centres.
| How the shift was recorded | Where its Location, Role and Job come from |
|---|---|
| Employee Console or app | What the employee picked. The lists start on their rostered shift, or their profile defaults if your setting allows it. |
| Quick Clock, fingerprint or NFC | What the page or app was set up with, then the rostered shift, then the profile defaults. |
| Facial recognition iPad | What the employee picked on the iPad, then the iPad's setup, the rostered shift and the profile defaults. |
| A manager clocking them on | The rostered shift nearest the time entered, otherwise the profile defaults if your setting allows it. |
| Added on the Timesheets page | What you choose. The form starts with the rostered shift's, or the employee's defaults. |
Whether profile defaults fill the gaps is set by Default 3D Cost Centre in Timesheet Settings. Choose Default Location/Role/Job to Timesheet to use each employee's Default Location, Default Role and Default Job from their profile, under Payment and Employment. Choose No Job when missing to leave them empty, so a missing Job shows up instead of being filled in.
Clock staff on or off for them
Managers with Timesheet - Full Access can clock staff on or off, such as when someone forgets.
- Navigate to Menu > Home > Dashboard, and find Employee Status.
- Click the clock button beside the employee, or tick several and click Clock On or Clock Off at the bottom.
- Enter the Time, or tick Use start time from Roster, and choose the Job if needed.
- Click Clock On or Clock Off.
The Control Panel, at Menu > Home > Control Panel, has the same options under Clock Status.
When staff forget to clock on or off
- Forgot to clock on: set Roster Missing Clock On to Send email if roster missing clock on in Roster Settings. Every 15 minutes, Microkeeper emails the manager when a rostered employee hasn't clocked on.
- Forgot to clock off: at midnight they're taken off the clock with no end time, and the manager is emailed. Add the end time on the Timesheets page. If staff work overnight, set Shift Work to Shift Work - Staff work past midnight. See Timesheets.
Who gets these emails is set under Clocking Issue in Notifications.