Roster Templates
Roster Templates are used to manage reusable rosters to quickly roster staff on a weekly basis. This guide will cover creating templates and cloning templates to the roster calendar.
Navigate
Menu > Rosters > Roster Calendar
How to Create a Roster Template
Each roster template is used to house all roster data for a particular week.
For example, a rotating roster could have two templates named Week 1 and Week 2.
Or you might have a Summer and Winter roster.
There is no limit to how many templates are created.
Creating a New Template
Use the dropdown selection to select New Template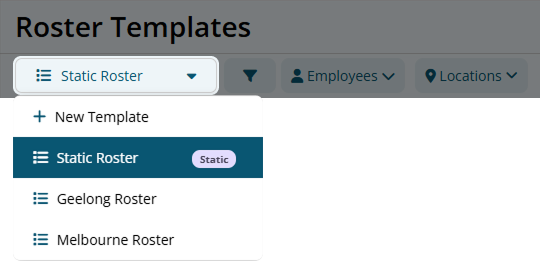
Enter an appropriate name for the template and click Create Template.
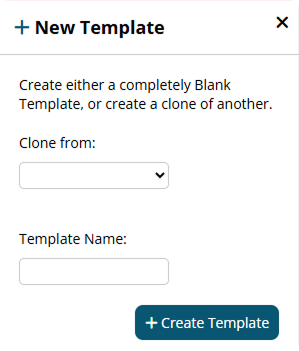
Cloning From an Existing Template
A new template can be created by cloning from an existing template.
During the Create New Template process select a Roster Template to Clone from in the drop down box.

Each template includes all locations of your business.
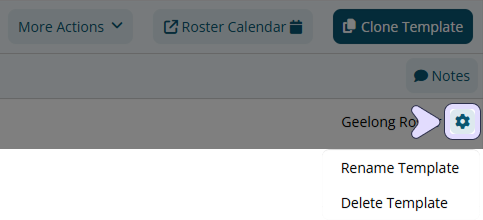
Deleting a Roster Template
In the top right of the page click the settings icon.
Here templates can be renamed and deleted, once a template is deleted this cannot be undone.
Editing a Roster Template
Shifts for Roster Templates are configured in the same way as the Roster Calendar. For instructions on managing rostered shifts, refer to the Roster Calendar guide.
How to Clone a Roster Template to a Roster Calendar
When you are happy with your roster template you can clone it to a particular week of the fiscal year.
1. Selecting the Roster Template and Configuring the Filters
Use the dropdown selection to select the Template.

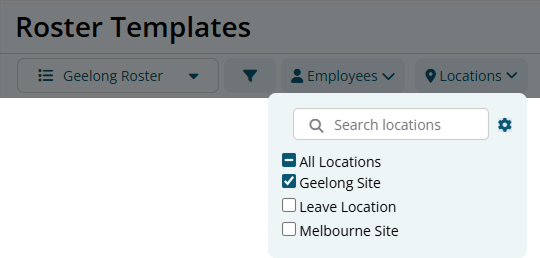
Further filters that can also be configured:
Locations: Select the location/s to clone.
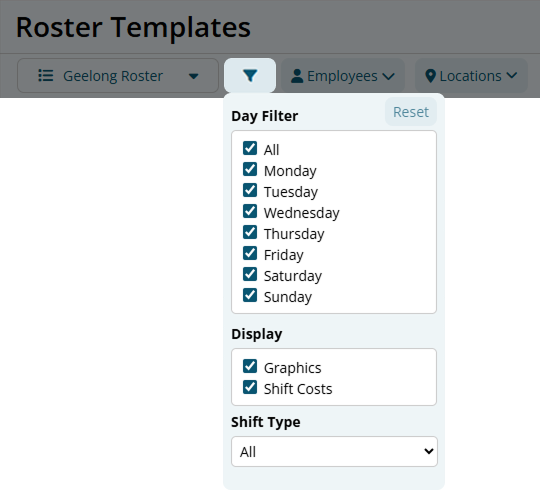
Advanced Filters can be found by clicking the [icon] Filter button. Options include:
Day Filter: The days to clone.
Display
- Graphics: Toggle display of the 24 hour visual breakdown
- Shift Costs: Toggle display of roster costing
When a template is cloned, the employee filter will not be applied to the Roster Calendar. All shifts within the chosen locations and days will be cloned to the roster, irrespective of the employee filter.
2. Cloning the Roster Template
Click the Clone Template button.
Configure the applicable settings:
- Calendar or Template: Select Calendar to clone the Roster Template to a Live Roster Calendar week. Alternatively, you can clone this Template to another Template or make a new Template.
- Fiscal Year: Select the appropriate Fiscal Year to clone to.
- Fiscal Week: Select the appropriate Fiscal Week to clone to.
- Jobs: When selected this will rest the currently configured Jobs on the template to blank on the Roster Calendar.

Click the Clone button.
The template will now be cloned to the selected week/template.
If a template is saved to a calendar week with existing roster data, the previous roster data for that week will be overwritten.