Cost Centres
Microkeeper's 3D cost centres are Location, Role and Job. Every rostered and worked shift records all three, so you can see what each place, type of work and job costs.
This guide explains what each one means, how a shift gets them, and which ones your business needs.
Microkeeper's 3D cost centres: Location, Role and Job
A cost centre is a label on hours worked, so you can see what those hours cost. Microkeeper records three on every shift:
| Cost centre | What it records | Example |
|---|---|---|
| Location | Where the employee worked | Melbourne Restaurant |
| Role | What they did on the shift | Kitchen |
| Job | Which piece of work or client the hours were for | Private Functions |
For example, a cook works a Saturday night shift at the Melbourne Restaurant, in the kitchen, for a private function. That shift records Melbourne Restaurant, Kitchen and Private Functions. The same cook's Sunday lunch shift might record Melbourne Restaurant, Kitchen and no Job.
Each one is optional. A shift can have no Location, no Role or no Job, and you only set up the ones your business needs.
Why cost centres matter for wage costs
Cost centres answer questions such as "What did the kitchen cost us this month?", "Is the Sydney restaurant's wage bill growing?" and "How much labour went into that function?".
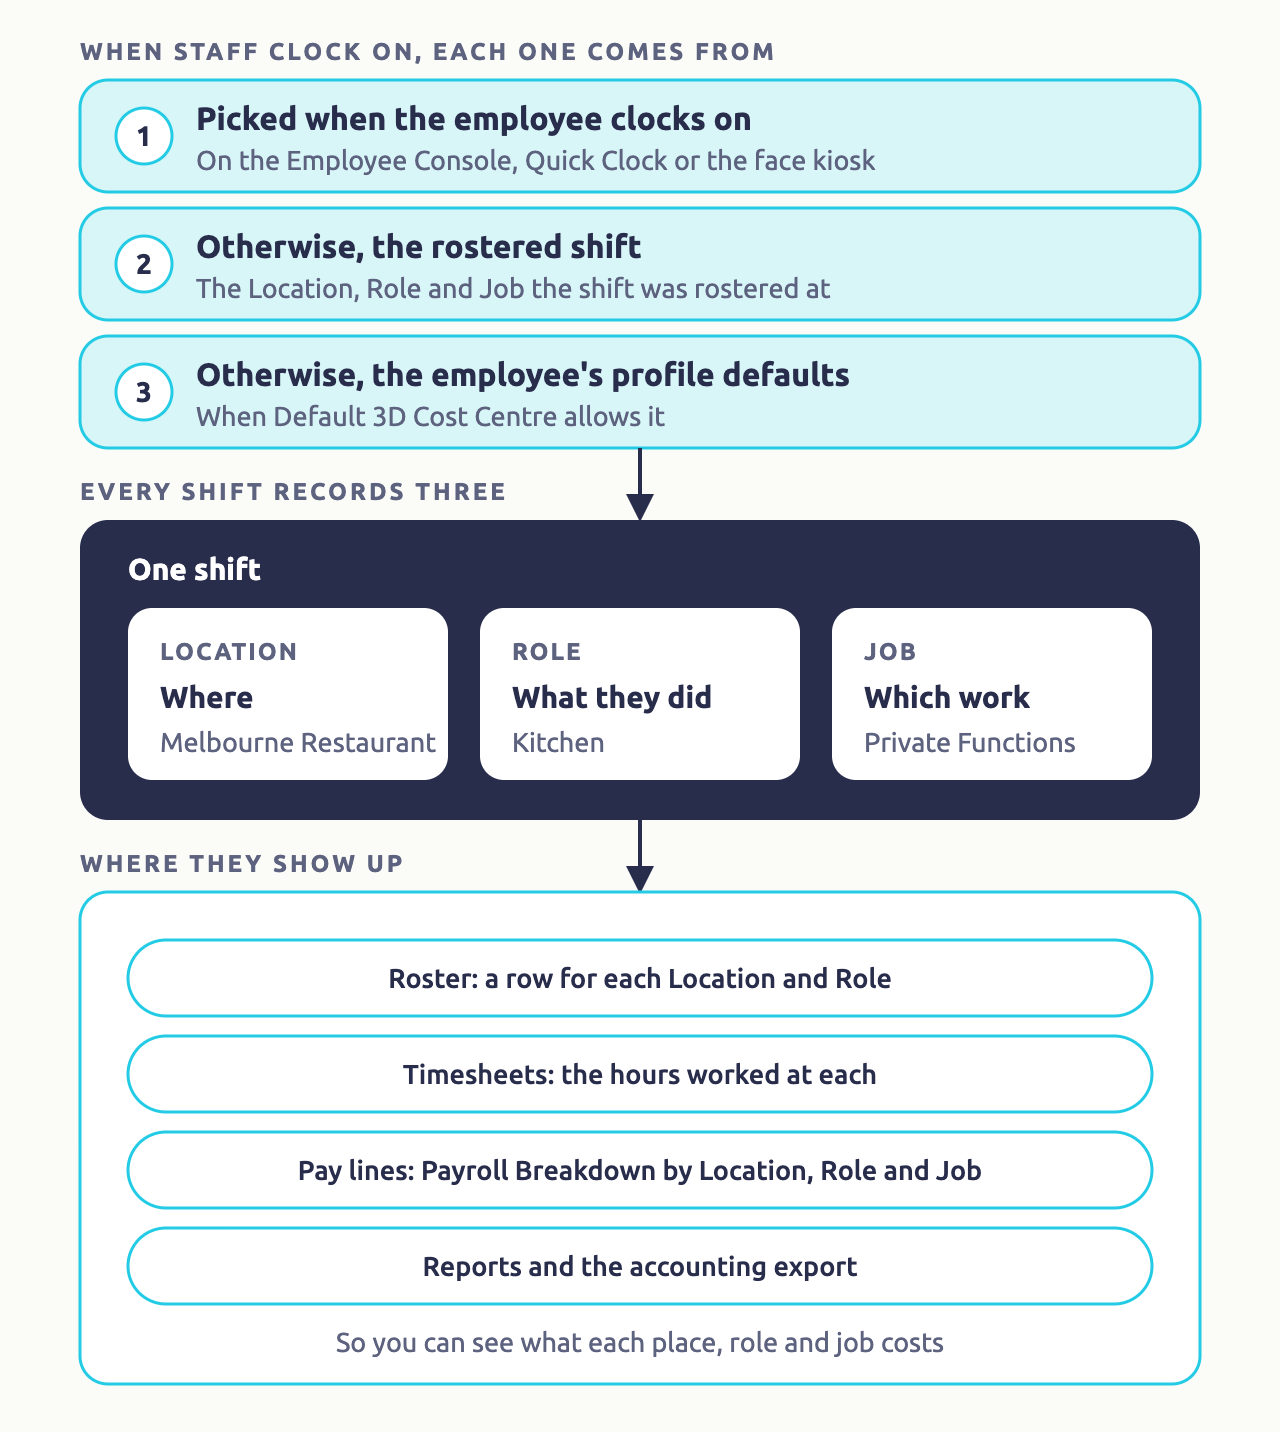
One shift's Location, Role and Job follow it the whole way through Microkeeper:
- Roster: the shift is planned at a Location, in a Role row, with a Job if your Location offers Jobs.
- Timesheet: when the employee clocks on, or a manager enters the hours, the shift records its Location, Role and Job.
- Pay line: when you calculate the pay run, each line of pay, including penalties and overtime, keeps the shift's Location, Role and Job.
- Reports and accounting export: wage costs are split by Location, Role and Job, and each line can go to its own account and tracking category.
If a shift is missing a cost centre at the timesheet, it's missing at every step after it. For the pay, report and export side, see Cost Centre Reporting.
How a shift gets its Location, Role and Job
When an employee clocks on, Microkeeper fills each of the three separately, in this order:
- What was picked when clocking on. The employee's choice on the Employee Console or face kiosk, or what the Quick Clock page or clocking device was set up with.
- The rostered shift. If nothing was picked, the Location, Role and Job from the employee's rostered shift nearest the time they clocked on.
- The employee's profile defaults. If there's still nothing, and the Default 3D Cost Centre setting allows it, the employee's Default Location, Default Role or Default Job.
Each cost centre is worked out on its own. An employee rostered at the Melbourne Restaurant in the Bar who picks the "Staff Training" Job on the Employee Console records Melbourne Restaurant, Bar and Staff Training.
To use profile defaults, set each employee's Default Location, Default Role and Default Job under Payment and Employment on their profile. Then navigate to Menu > Settings > General > Global, click Timesheet Settings, and set Default 3D Cost Centre to Default Location/Role/Job to Timesheet.
Shifts a manager adds on the Timesheets page take the Location, Role and Job chosen there. For how each way of clocking on and adding timesheets fills them, see Clocking Options.
Choose which cost centres your business needs
- Location: one Location is enough for many businesses. Add more when staff work at more than one place and you want rosters, managers and costs for each.
- Role: add Roles when you roster by type of work, such as Bar, Kitchen and Front of House, or want to compare their costs.
- Job: add Jobs for projects, clients or events whose labour you want to cost separately, such as Private Functions. Jobs can come and go; Locations and Roles are meant to be a fairly fixed list.
If you keep adding Locations for short-term sites, create one Location such as "Onsite" and add a Job for each site instead.
To set each one up, see Locations, Roles and Jobs.