Reckon Accounting Integration
Microkeeper payroll data can be sent directly to Reckon in just a few steps.
This guide explains how to connect Microkeeper to Reckon, configure your accounts, and send each pay run to Reckon as a payroll invoice.
This guide covers how to:
- Select Reckon as your accounting suite.
- Connect Microkeeper to your Reckon Book.
- Sync your Reckon Chart of Accounts and Classifications.
- Map Microkeeper payslip items to the relevant accounts.
- Send or update the payroll invoice in Reckon.
Prerequisite: Configure your accounting suite to Reckon
Before connecting to Reckon, select it as the accounting suite for the relevant ABN.
Navigate to Menu > Settings > General > Global > System Settings.
If the Accounting Suite dropdown is displayed, select Reckon.
If the Change Accounting Suite button is displayed:
- Click Change Accounting Suite to open ABN and Pay Cycles.
- Find the ABN you want to configure and click the pencil Edit button.
- In the Update ABN window, select Reckon from the Accounting dropdown.
- Click Update ABN.
Accounting connections and account mappings are configured separately for each ABN.
Connect Microkeeper to Reckon
After selecting Reckon as your accounting suite, connect the relevant ABN to your Reckon account.
The Connect to Reckon button is available from either of these locations:
- ABN and Pay Cycles: Navigate to Menu > Settings > General > Global > ABN and Pay Cycles.
- Accounting Export: Navigate to Menu > Payroll > Payruns > Payslips > Complete Payrun > 3. Export.
- Click Connect to Reckon.
- Sign in using your Reckon account details and authorise Microkeeper.
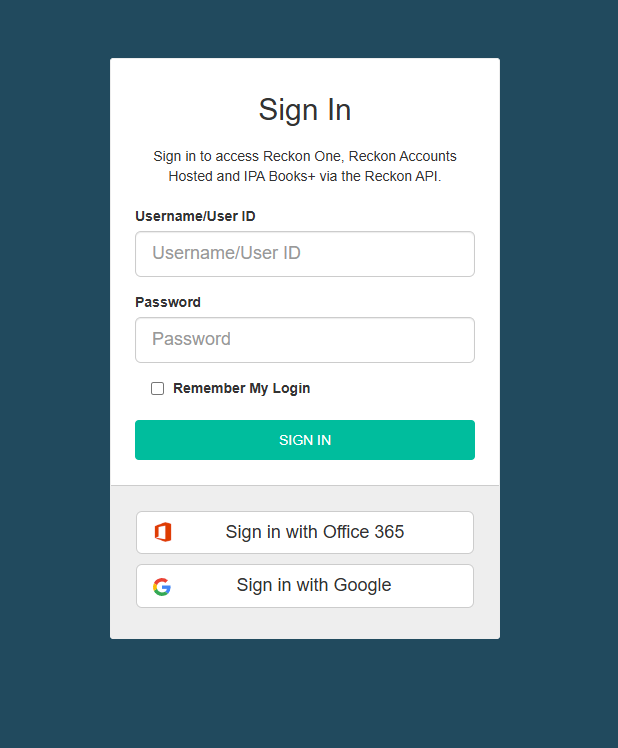
If your Reckon account contains one Book, it will be linked automatically.
If more than one Book is available, select the required Book from the Select Organisation dropdown, then click Connect.
Once connected, the Reckon Book name will appear beside the connection icon in Microkeeper.
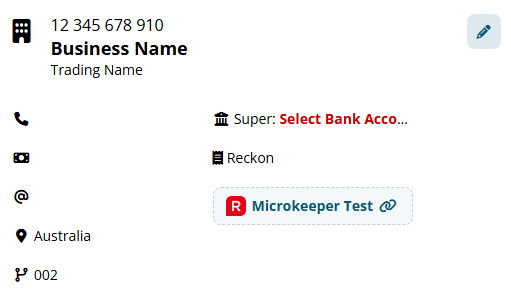
Sync your Reckon accounts and Classifications
Sync your Reckon Chart of Accounts so the correct account codes and names are available when configuring the payroll invoice.
Navigate to Menu > Settings > General > Global > System Settings, then click Chart of Accounts.
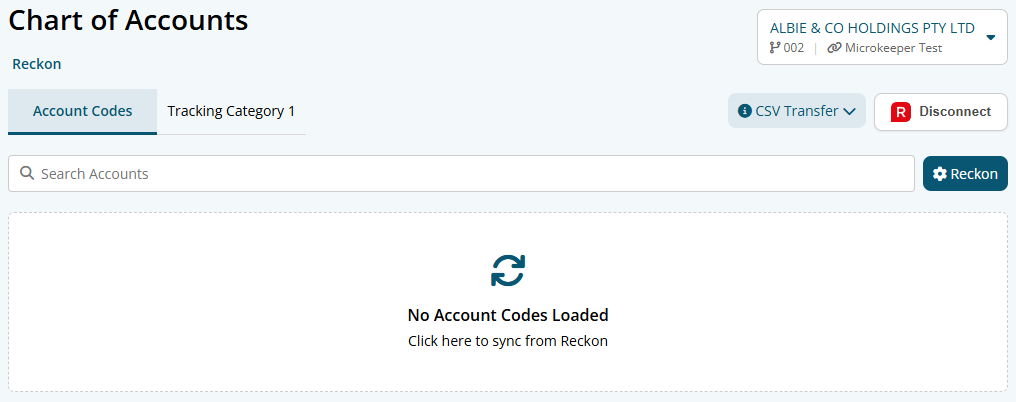
If you have more than one ABN, select the ABN you want to configure from the dropdown at the top of the Chart of Accounts page.
Click the Reckon button with the cog icon to open the Reckon actions.
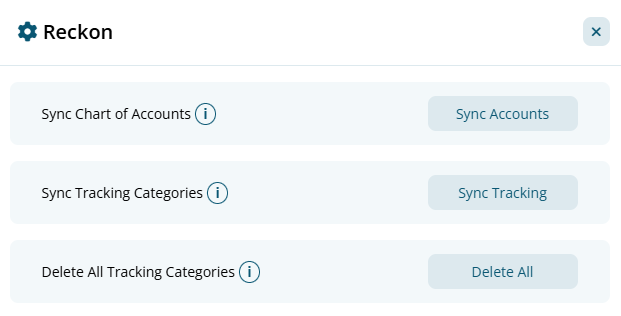
Sync Chart of Accounts
Click Sync Accounts to import your account list from Reckon into Microkeeper.
Run this sync when connecting Reckon for the first time and whenever accounts are added, renamed, or removed in Reckon.
Sync Classifications
Reckon Classifications are available in Microkeeper as a tracking category. This is optional and allows payroll invoice lines to be allocated to the relevant cost centre.
Click Sync Tracking to import your Reckon Classifications.
Configure your Reckon payroll invoice
Before sending payroll data to Reckon, map each Microkeeper payslip item to the relevant Reckon account. These settings are saved for future pay runs.
Navigate to Menu > Payroll > Payruns > Payslips > Complete Payrun > 3. Export.
The left side of the Accounting Export table lists the Microkeeper payslip items. For each item:
- Enter the description that should appear on the Reckon invoice.
- Select the relevant Reckon account.
- If applicable, select a synced Reckon Classification.
Click Save Settings when you are happy with the configuration.
Breakdown By options
The Breakdown By setting controls how payroll amounts are separated into invoice lines.
- Title: Break down amounts by the payslip title assigned to each payment item.
- Date: Break down amounts by payment date.
- Location: Break down amounts by Location.
- Role: Break down amounts by Role.
- Job: Break down amounts by Job.
- Class: Break down amounts by payment Class.
For a basic breakdown, select Class. For a more detailed cost-centre breakdown, select the applicable combination of Location, Role, and Job.
Avoid selecting Date unless it is required, as it can create additional invoice lines that need to be reviewed each pay run.
Quick Copy and Paste tool
Use the copy button on the right side of the account configuration to copy the Description, Account, and Classification from one line to another.
Click the Copy button , then click the Paste button on the line where you want to apply the copied values.
Send the payroll invoice to Reckon
Once the invoice lines have been configured and saved, the payroll data can be sent directly to your connected Reckon Book.
- Review the invoice lines and confirm each Description, Account, amount, and Classification is correct.
- Click Save Settings if you have made any changes.
- Click Send to Reckon.
If successful, Microkeeper will display a confirmation message with a link to open the payroll invoice in Reckon.
If an invoice already exists for the same pay cycle and pay period, Microkeeper updates that invoice instead of creating a duplicate.
Additional notes
We recommend working with your bookkeeper and contacting the Microkeeper team for help with the initial configuration.
Each ABN has its own Reckon connection, Chart of Accounts, Classifications, and Accounting Export configuration.
When a new payslip item appears in a future pay run, map it to the appropriate Reckon account before sending the invoice.
If an account cannot be found or an account name has changed, return to the Chart of Accounts page and click Sync Accounts before trying again.